Conversational Workflow
Conversational Workflow is a conversational application that supports multi-turn interaction, process branching, node jumping, and business logic orchestration. It can automate complex business processes and guide multi-scenario task execution, suitable for government services, business applications, work order processing, intelligent service assistants, and other highly process-driven scenarios.
This chapter will build a Knowledge Base Q&A Assistant from scratch: it retrieves knowledge base documents based on input questions, recalls the most relevant paragraphs, and provides accurate replies.
Create Application
Go to AIGC Applications / Application Center, click the "Create Application" button, select Conversational Workflow as the application type, fill in the application name, and click "Save & Create".

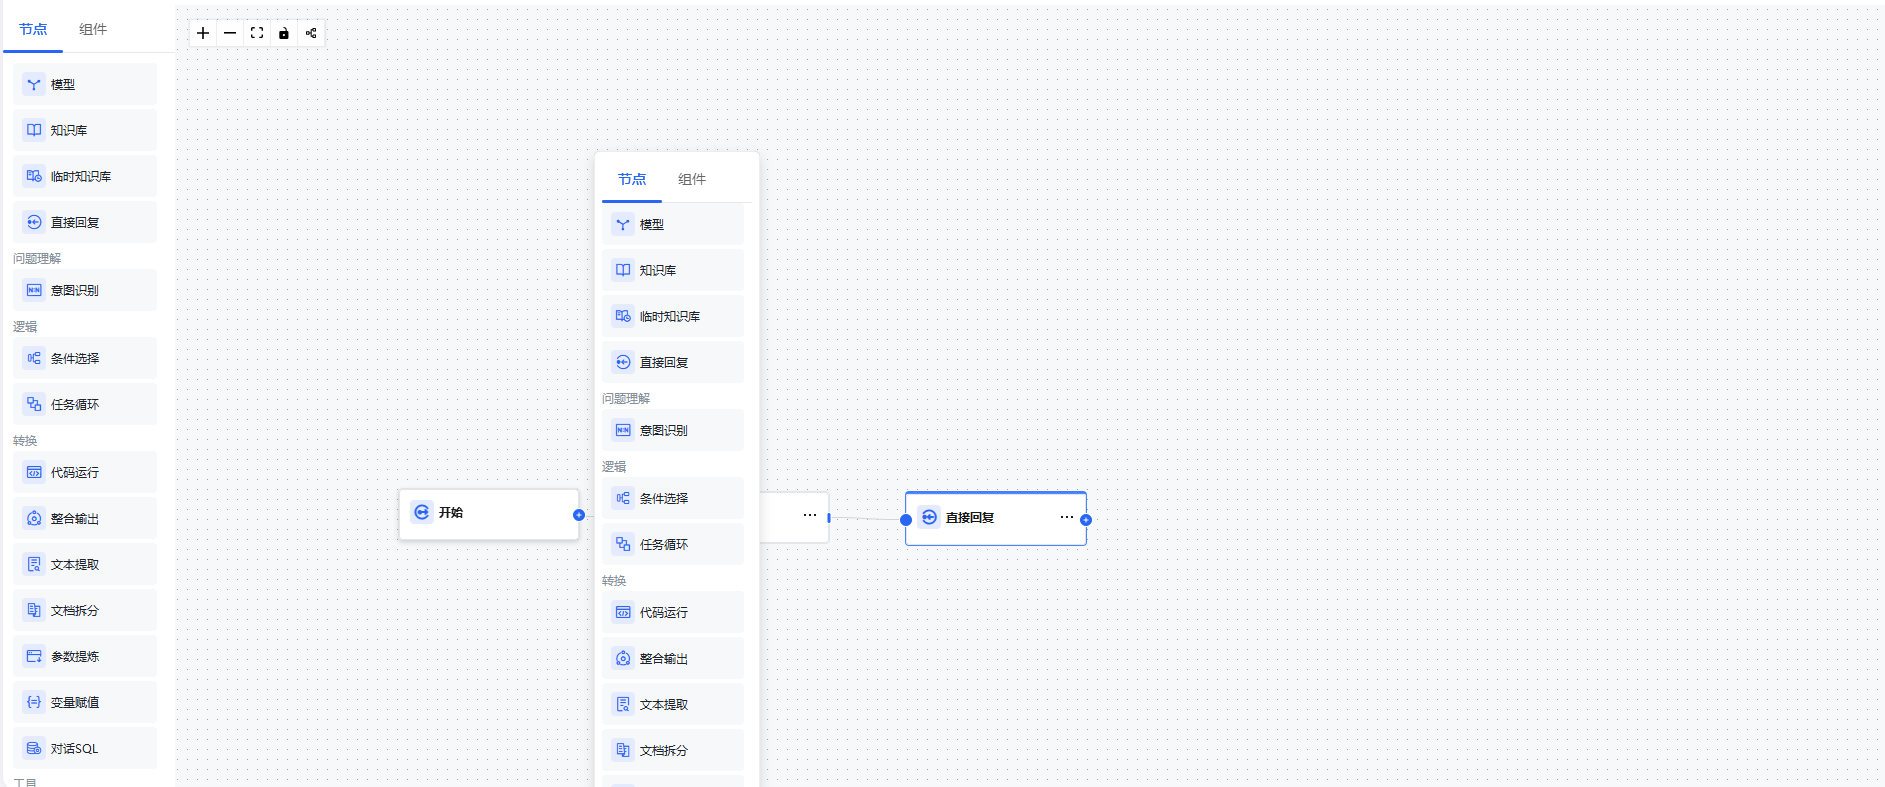
Canvas Nodes
After creation, the system automatically redirects to the conversational workflow canvas, which has a Start node - Model node - End node by default. Drag nodes from the left panel or click the + button after a node on the canvas to add and connect the nodes you need.
Step 1: Configure the Start Node
The Start node is the entry point of the workflow, responsible for receiving user input and injecting system variables.
Click the Start Node on the canvas, and in the right configuration panel you can see two sections:
Input Fields (Optional)
If you need to collect additional information before the conversation starts, you can input fields here. For this tutorial, no additional configuration is needed — keep the defaults.
System Variables
The Start node automatically injects the following system variables, which can be referenced directly by all subsequent nodes without manual configuration:
| Variable | Data Type | Description |
|---|---|---|
sys.query | String | The text content entered by the user in the current turn |
sys.files | Array[File] | The list of files uploaded by the user in the current turn |
sys.conversation_id | String | The unique identifier of the current session, unchanged within the same session |
sys.user_id | String | The unique identifier of the user currently using the application |
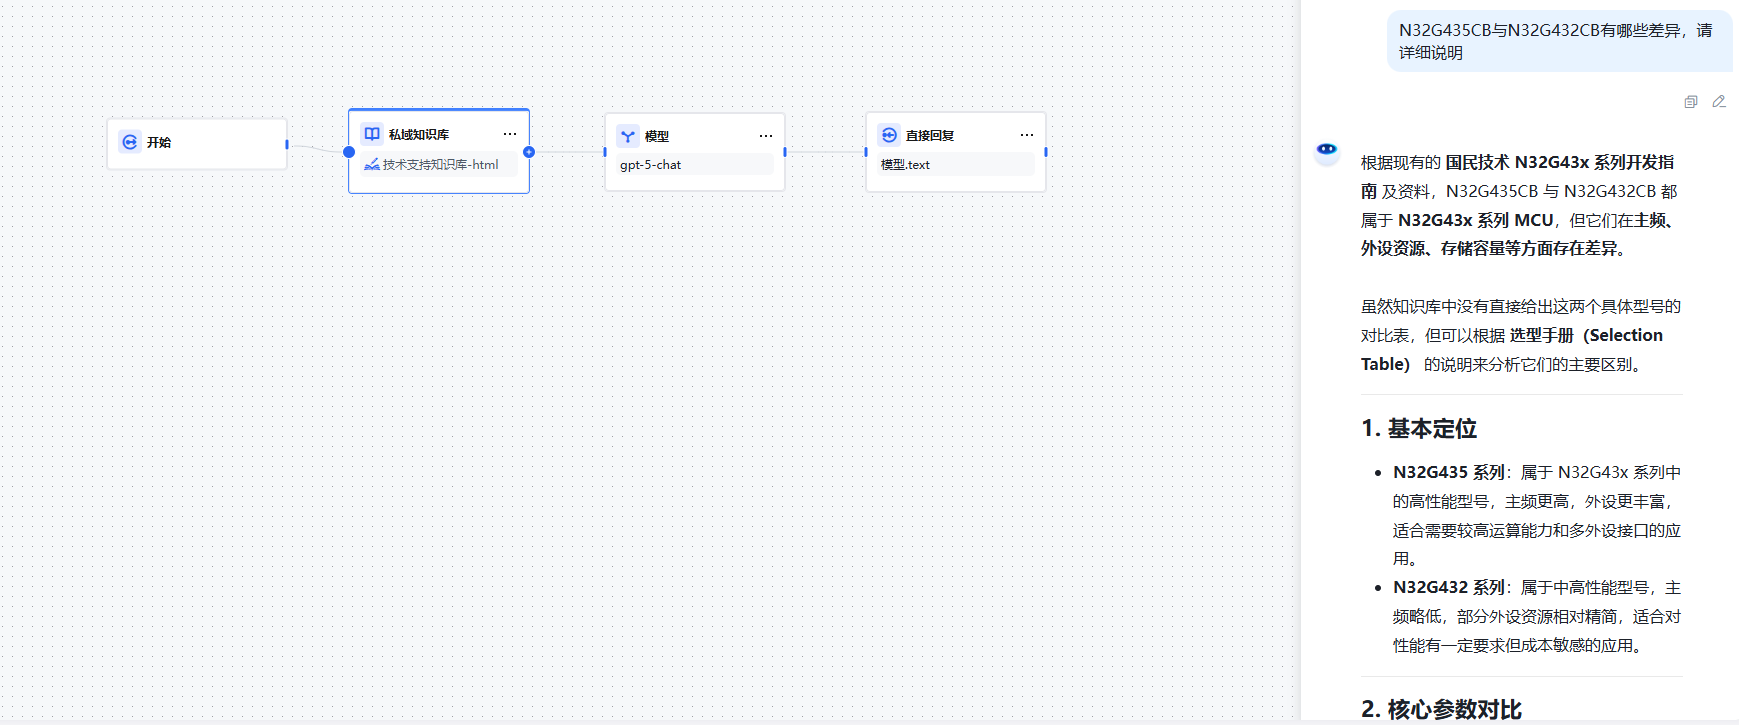
Step 2: Add a Knowledge Base Node
Add a Knowledge Base Node after the Start node to retrieve text segments from the private knowledge base relevant to the user's question:
- Click the + after the Start node and select the "Knowledge Base" node
- Query Variable: Select
sys.query(current user input) - Select Knowledge Base: Choose a pre-created private knowledge base from the dropdown (must be created and permission-assigned in advance on the Private Knowledge Base page)
- Recall Strategy: Keep the default multi-path recall, adjust the following parameters as needed:
| Config | Recommended | Description |
|---|---|---|
| Top K | 3 | Return the top 3 most relevant text segments |
| Score Threshold | 0.5 | Filter recall results below this similarity score |
- Connect the Knowledge Base node output to the downstream Model node
The output variable of the Knowledge Base node is
result, containing a list of relevant text segments retrieved from the knowledge base. It needs to be referenced in the Context of the downstream Model node.
Step 3: Add a Model Node
Add a Model Node after the Knowledge Base node to generate replies based on the retrieved results:
- Select Model: Choose a model suitable for Q&A, e.g.: gpt-5-chat
- Context: Associate the
resultvariable from the Knowledge Base node to the context - System Prompt example:
As gpt-5-chat, you need to provide professional, rigorous, and detailed responses. Please follow these guidelines:

1. Content Requirements:
   - Based on facts and professional knowledge, ensure information accuracy
   - Clear logic, well-structured, use appropriate structure to organize content
   - Explain complex concepts as needed, maintaining professionalism while being understandabl2. Code Presentation:
   - All code must be in code blocks, starting with ```+language name, ending with ```
   - Code should be complete and runnable, with necessary comments
   - Complex code needs a brief explanation of its function and implementation

3. Response Style:
   - Clear thinking, rich content, but avoid redundant expressions
   - Objective and neutral, provide solutions based on the question itself
   - For technical questions, prioritize verifiable methods and steps

4. Reply Requirements:
   - Must strictly refer to knowledge base content for replies
   - Knowledge base content: [Context]
   - If the user's question does not exist in the knowledge base, prompt: This question is outside my response scope

Please provide high-quality responses to my questions based on the above requirements.
Step 4: Add a Direct Reply Node
Add a Direct Reply Node after each Model node to stream the model output back to the user:
- Click + after the Model node and select "Direct Reply"
- In the text editor, insert the output variable of the upstream Model node, e.g.
{#ModelNode.text#} - The Direct Reply node supports mixed text and images, allowing variables to be interspersed in fixed text
The Direct Reply node can serve as an intermediate node, outputting content in stages during process execution without waiting for the entire process to finish.
Step 5: Debug and Publish
Debug
Click the "Debug" button in the upper right corner of the canvas, enter test questions in the right debug panel, and observe whether the process executes as expected:
- After each node executes, input/output details are displayed for troubleshooting
- If the knowledge base doesn't recall relevant content, check if documents have been imported and vectorized
- If the model reply is inaccurate, adjust the context reference position in the prompt
Publish
After debugging passes, click the "Publish" button in the upper right corner and select a publish option (Publish Update, Run)
Complete Flow Diagram
Start Node (sys.query)
    ↓
Knowledge Base Node (retrieve relevant text segments → result)
    ↓
Model Node (context references result, generates reply)
    ↓
Direct Reply Node (stream model reply)
    ↓
End Node
Session Variables
Conversational workflows support writing information to session variables via the Variable Assignment Node to achieve cross-turn state persistence.
For example, to record the language preference set by the user in the first turn and automatically apply it in all subsequent turns:
- Create a variable
language(String type, default empty) in the "Session Variables" of the Start node - Use a Parameter Extraction Node to extract the language preference from user input
- Use a Variable Assignment Node to write the extracted result to
language(assignment mode: overwrite) - Reference this variable in the system prompt of the Model node
Session variable values persist throughout the entire conversation lifecycle and are not cleared when a single turn ends.
Run History
Conversational workflows natively support multi-turn conversations, with each user input triggering a complete workflow execution. The platform automatically saves the history of each conversation. Click the Run History icon in the upper right corner of the application to view all historical sessions, including:
- User input and model reply content for each turn
- Execution details and time for each node
- Source text segments recalled from the knowledge base
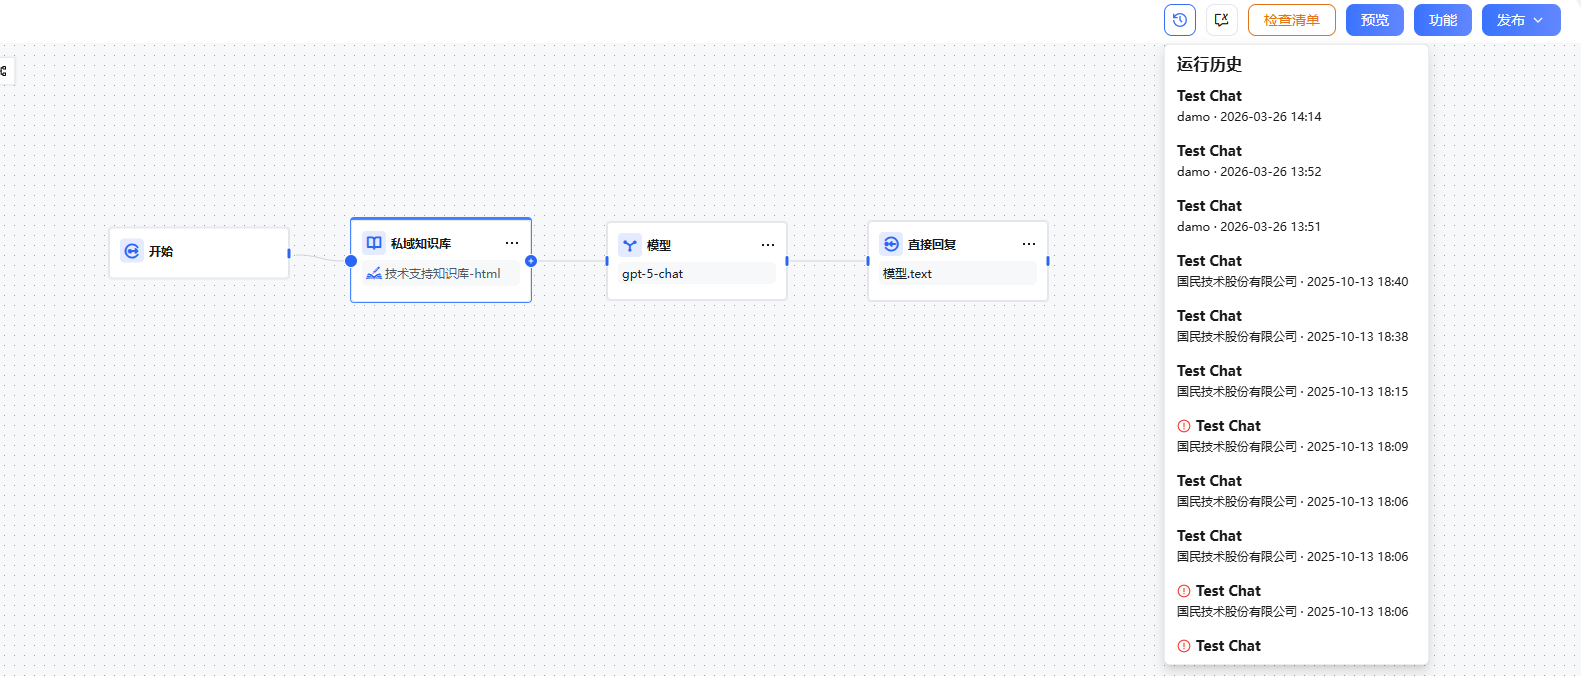
History records can be used to analyze user behavior, optimize prompts and recall strategies, and continuously improve application reply quality.